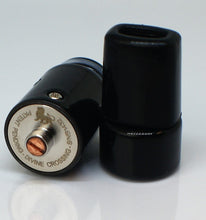
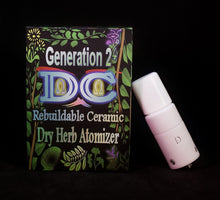
Available in black, the DC Gen 2 Dry Herb Vape is a fully ceramic dry herb vape which provides excellent performance and for a long time has been our go to full conduction vaporizer
The Gen 2 Herb Vape outclasses many much more expensive vapes, providing great flavour with smooth vapour all with short heat times. At the lower temp range these make nice session vapes, at the higher end of the range they act more like a dynavap producing large powerful hits, vapourising the material with a few big draws.
Before first use put your coil onto wattage mode and heat at 30W for 15 seconds to burn off any residue left over from manufacture.
We use this vaporizer at TCR 340 at 40W at 200C for a 10-15 second heat time. It is still best to pre-heat your material a bit longer (we wait 20 seconds) to produce larger clouds and a more thorough bake. If this causes your herb to overheat you can go as low as TCR 300 at 40w which is where we advise starting, to avoid accidental combustion!
All related parts in the side menu - Or by clicking this text.
If buying with spare coils we'd suggest getting one only as these last a very long time!
Loading method
- Around 0.08-0.12g - density dependent.
- Grind dry herb loosely - medium to course grind is best. Needs to be larger than the air holes.
- Take a big pinch and gently pack chamber filling almost to the top. Don't over pack the chamber or grind too fine or you'll reduce the airflow too significantly. These are the main points for effective use. You only want the cap to hold the herb in place, not to compress it.
- For full packed chambers poke a hole through the centre of the packed material with the provided mini screwdriver (this step makes a big difference to vapour production and even cooking of material). You can gently rotate the screwdriver as you push it through the herb to make it a little easier. If you pull the herb out of place when removing the screwdriver, quickly poke it down again with the handle and make the whole again, it should now stay in place when removing the screwdriver.
- Replace cap.
- Heat for 15-20 seconds or until your set temp has been reached. Longer pre-heats and higher temperatures will produce more vapour.
- Draw air gently through the atomizer.
Cleaning Method
- Do this while material is still warm to avoid any becoming stuck.
- Remove top cap
- Turn atomizer upside down and gently remove herb plug with mini screwdriver.
- Brush chamber, or blow into it to remove excess. If blowing shut your eyes or you'll blow material into them (been there).
- Wipe mouthpiece air holes every time so they stay clear (super important for good airflow). You can sharply blow through it to help clear these.
- That's it! Super low maintenance vape.
Settings
For TCR based mods TCR 300-345 @ 30W. 180-240C (max, dry material may combust at 240C). Coil resistance is around 0.71-0.74 ohms.
We prefer using TCR 340 @ 40W between 190-215C. Coils theoretically won't last as long but we've run it this way for almost a year now without any replacement needed.
Water tool adapters are available here. These have a glass adapter which also stays cooler than the original mouthpiece so can be used as a replacement for th is too.
Spare heaters are available here. These occasionally need replacing, depending how carefully and gently you clean the atomizer/coils will generally dictate their lifespan. They can be expected to last at least three months (often much longer) with regular use and careful care.
We suggest purchasing a 22mm heat sink or V2 24mm heat sink for this vaporizer when used for longer sessions.
In the box
- 1 x G2 Atomizer with Silicone mouthpiece (white or black)
- Cleaning tool
- Brush
- Mini screwdriver
- 5 extra screws
- Instruction Manual
- We advise using o-ring lubricant on the o-rings to allow the cap to be removed and replaced more easily.
-
Please note the housing for this device is made from Ceramic so care should be taken with it. Do not over tighten the screws which hold the base in place and avoid dropping or knocking it!
This Atomizer/Diffuser requires a regulated mod box capable of sub ohm vaping.


